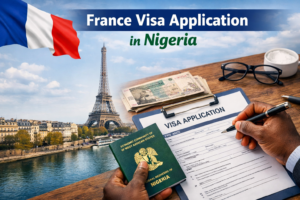
Traveling to most countries in the world requires that you have a visa. This visa serves are your license to stay in the country for the period approved.
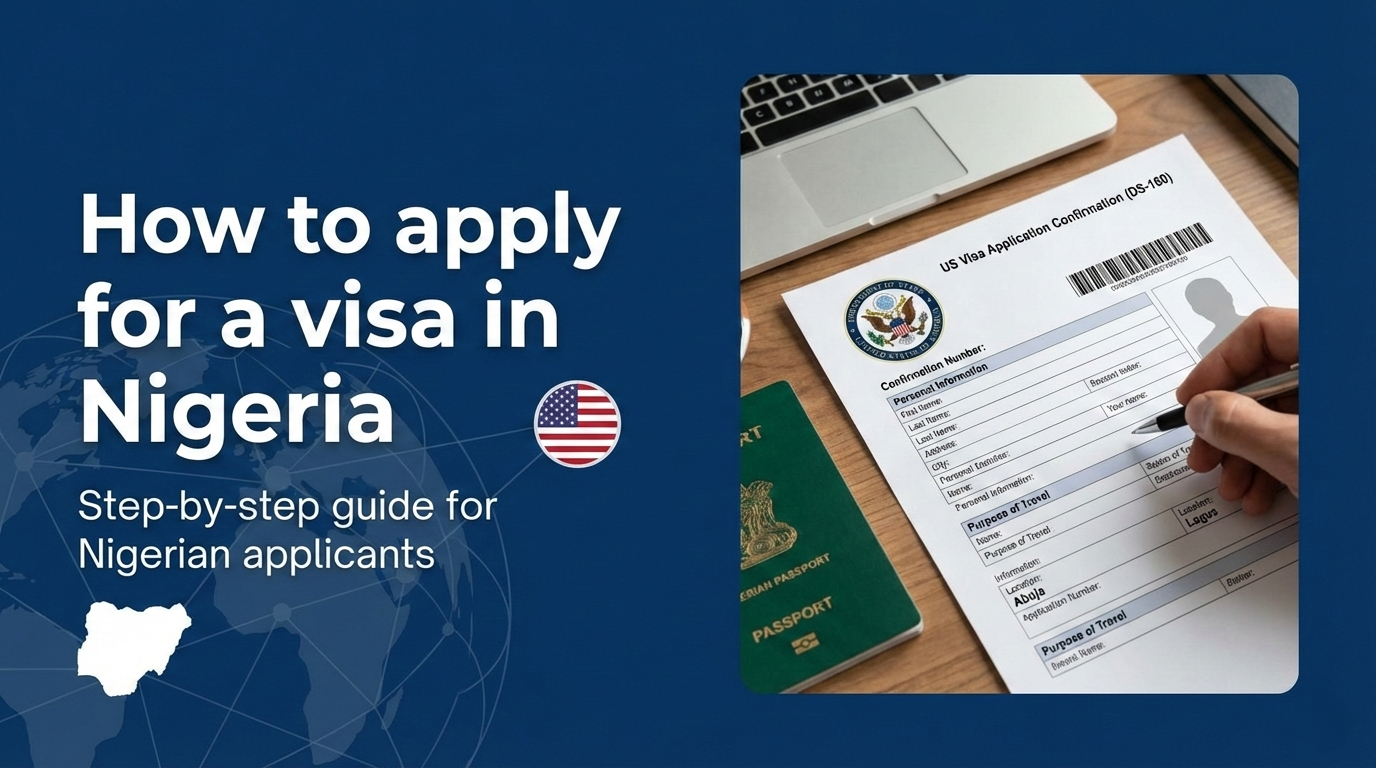
To get your visa for your travel, you need to apply for it. In this article, I will teach you how to apply for a visa in Nigeria.
Key takeaway:
How to apply for a visa in Nigeria, follow these steps:
- Decide the visa type you need (tourist, student, work, business, etc.) based on your travel purpose.
- Check the embassy or visa application center website of the country you are applying to for requirements.
- Gather required documents (international passport, photos, bank statement, employment or school documents, travel itinerary, etc.).
- Fill out the online visa application form on the official website and pay the visa fee.
- Book an appointment with the embassy or an authorized visa application center.
- Attend your appointment for biometrics, document submission, and interview (if required).
- Track your application online.
- Collect your passport or receive the visa decision once processing is complete.
How to apply for a visa in Nigeria step-by-step process.
Here is the step-by-step process to apply for a visa in Nigeria.
Step 1: Discover the type of visa you need.
How to apply for visa in Nigeria starts from determining the type of visa you need, which is determined by your purpose of going to your destination country. The requirements for this visa are unique to the requirements of your destination country.
- Travelling to visit your relative: Visitor visa.
- Travelling to explore a new culture: Tourist visa.
- Travelling for job opportunities: Work visa.
To name a few of them, you need to determine the exact type of visa you need, then proceed to find out the requirements needed to obtain the visa. Us visa categories.
Step 2: Check your eligibility and visa requirements
Step 2 of how to apply for a visa in Nigeria is to check the requirements of your intended visa.
The requirements for the types of visa for each country differ; some countries require biometrics, organise interviews, etc. In order to check the requirements, visit the country’s embassy or consult the official government immigration website of the country you intend to visit.
- Us – https://travel.state.gov/content/travel/en/us-visas.html
- Canada – https://www.canada.ca/en/services/immigration-citizenship.html
- UK – https://www.gov.uk/government/organisations/uk-visas-and-immigration
- Others – search with (“country” immigration website).
Having enough information about the process and requirements needed to obtain a visa reduces the chances of making mistakes that would lead to visa denial.
Step 3: Gather all the necessary documents.
The next step in the process of how to apply for visa in Nigeria is gathering all your necessary documents. It is a crucial step in your visa application process.
You need the documents both in physical and digital form.
- Core/Mandatory documents: These are documents that are consistent among all visa types
-
- Valid Passport: You must have a passport that is valid for six months beyond the time of your stay in your destination country.
- Visa Application Form: A completed and signed copy of the online application form for the visa you are applying for.
- Payment & Acknowledgment Slips: You need a printed copy of your payment receipt and a system confirmation
- Recent Photographs: Two color passport-sized photos (35x40mm) taken against a white background. There shouldn’t be any face cover of any kind, like a scarf, sunglasses, or a cap.
- Proof of Funds: Recent bank statements (covering 30 to 180 days, depending on visa type) showing sufficient balance for your stay. Payment of huge amounts into your bank account just before your application could be seen as suspicious.
- Travel Itinerary: Evidence of a confirmed return ticket or round-trip flight booking.
- Proof of financial capability to sponsor your trip: You should have documents that prove that you have sufficient funds to take care of your needs during your stay. You would need documents such as bank statements for at least 3 to 6 months, a salary slip, an employment letter, and, for business owners, your company’s registration documents.
- Purpose-Specific Documents: These documents are determined by your purpose of traveling. If you are travelling for tourism, you need to show proof of accommodation or an invitation letter from the host. When you are travelling for a business trip, you would need a formal invitation letter from the host company on their official letterhead and their certificate of incorporation.
- Critical Additions for 2026:
-
- Your NIN (National Identification Number) should tally with everything on your application.
- Digital landing and exiting form: You must fill out these forms before boarding a plane, whether you are exiting or entering Nigeria.
- Health: You must prove that to have taken your yellow fever vaccine, and if you are going to stay in a country like the UK for at least 3 months, you must go through a tuberculosis test to ensure you pose no harm to your destination country.
- If you are traveling with a minor ( Someone less than 18), you must provide a notarized parental consent letter from both parents and the child’s original birth certificate.
Step 4: Fill out your online application form
Step 4 of how to apply for a visa in Nigeria is filling out your online application form.
When you want to apply for your visa, apply through official and trusted websites like https://immigration.gov.ng/ and https://travel.state.gov/content/travel.html for US visas in order to avoid getting scammed by fraudulent websites.
Ensure you fill the form correctly, names should be well-spelt because even a little mistake can cause delays. Fill every space in the form with the required information, except where it’s deemed optional.
When you are making payments, it should be through the link on the official website and not through third-party websites, because it’s not refundable to avoid getting scammed.
Step 5: Schedule your interview and prepare for it.
Step 5 of how to apply for visa in Nigeria is scheduling your interview.
After you have paid for your visa and your payment has been confirmed, you will have to log back into the website with your passport ID, then book an appointment from the dates left, and you will be sent a confirmation.
When you receive your confirmation, start practicing for your visa interviews. A visa agent in Lagos can help you prepare for your interview by asking you common questions.
Step 6: Attend your visa interview.
Step 6 of how to apply for visa in Nigeria is attending your visa interview.
Arrange your documents properly in the order specified on the checklist provided by the embassy.
Arrive early, at least 15 minutes before your interview, and be honest, confident, and consistent in all your answers. Finish up by submitting your documents.
What are the typical questions asked during visa interviews?
Travel Purpose: Why are you traveling to [Country]?
Itinerary/Duration: Where will you stay? How long will you be there?
Ties to Home Country: What is your occupation/job? Do you have family/dependents here? Do you own property or a business?
Funding: How will you finance your trip? Who is paying for this trip?
Step 7: Tracking your application.
Step 7 of how to apply for visa in Nigeria is tracking your application.
After you have gone for the interview and submitted your documents, and your biometrics have been taken, you will receive an acknowledgment receipt with a unique tracking ID called a reference number.
You would log it into the provided section on the official visa website to track the process of your visa application. It could take 3-15 working days, depending on the country’s embassy.
Note:
Holidays in Nigeria or your destination country can slow the process.
Step 8: Visa collection
Step 8 of how to apply for visa in Nigeria is visa collection.
When the whole process has been concluded, you will receive an sms message or email stating the outcome of your visa application.
To collect your visa/passport, you will use the method you choose when submitting your details online.
- Collection from a visa application centre (embassy).
- Courier delivery (if you paid for it).
- Collection by a representative. (they will go with an authorization letter, a copy of your ID, their valid ID, & your receipt).
It could either be approved or refused. If it’s approved, cross-check your information to make sure everything is correct and in the right order.
If it was refused, you can either reapply immediately or appeal the decision. This depends on the visa type.
How to increase your chances of getting your visa approved.
Here are the tips to increase your chances of getting your visa approved.
- Provide honest and consistent information.
- Show strong ties to home country (employment, property, family).
- Avoid fake documents.
- Prepare financially for the trip (proof of funds).
- Demonstrate a clear travel purpose.
Have this process of how to apply for a visa in Nigeria. Ensure you apply the tips above to get your visa approved.
What are some of the common mistakes Nigerians make when applying for a visa?
These are mistakes you should avoid when applying for a visa. They reduce your chances of getting the visa.
- Relying on agents for false documents.
- Mixing up information across forms.
- Last-minute applications.
- Not reading instructions for specific embassies.
FREQUENTLY ASKED QUESTIONS
The easiest is usually the e-Visa or short-stay visa (tourist or business), because you can apply online and avoid lengthy embassy procedures.
For e-Visa / short-stay, it can take as little as 24–48 hours, or often 2–5 business days.
Fees vary by country of destination and visa type. For example, some “tourist e-visa” applicants pay around US $160.
To apply for a visa in Nigeria, follow these steps:
- Decide the visa type you need (tourist, student, work, business, etc.) based on your travel purpose.
- Check the embassy or visa application center website of the country you’re applying to for requirements.
- Gather required documents (international passport, photos, bank statement, employment or school documents, travel itinerary, etc.).
- Fill out the online visa application form on the official website and pay the visa fee.
- Book an appointment with the embassy or an authorized visa application center.
- Attend your appointment for biometrics, document submission, and interview (if required).
- Track your application online.
-
Collect your passport or receive the visa decision once processing is complete.
CONCLUSION
With this guide on how to apply for a visa in Nigeria, you should have understood that getting your visa approved is very achievable, but it depends on your willingness to pay attention to details like the type of visa you need, the specific country requirements, and the organization of your information.
You should be consistent with the information you give and put on your visa, don’t try to do anything suspicious, and don’t use fake documents because it could lower your chances of your visa getting approved.